Website & Admin Panel
Build & First Run
With files uploaded, run the build steps, then let the /install wizard set up the database — and log in with the admin account you create in it.
Build steps — the canonical order
The package ships source only: no vendor/, no public/build/, no .env. Every command below is required, and the order matters — npm run build shells into php artisan, so Composer and .env must exist first.
# 1. writable dirs (composer's post-install hook writes bootstrap/cache)
chmod -R 775 storage bootstrap/cache

# 2. PHP dependencies
composer install --no-dev --optimize-autoloader

# 3. environment file — the site cannot boot without it
cp .env.example .env

# 4. frontend build (Node 20.19+)
npm ci
npm run build

# 5. storage symlink
php artisan storage:link
No key:generate needed: the app writes its own APP_KEY on the first request, as long as .env exists and is writable. Leave config:cache / route:cache for after the install wizard finishes (they're on the Go-Live Checklist).
vendor/, public/build/ and .env along with the source — identical result.composer run setup. That helper also runs php artisan migrate, which creates the tables before the wizard does — and the wizard then stops with "table already exists". Run the commands above instead and let /install build the database.Open the site
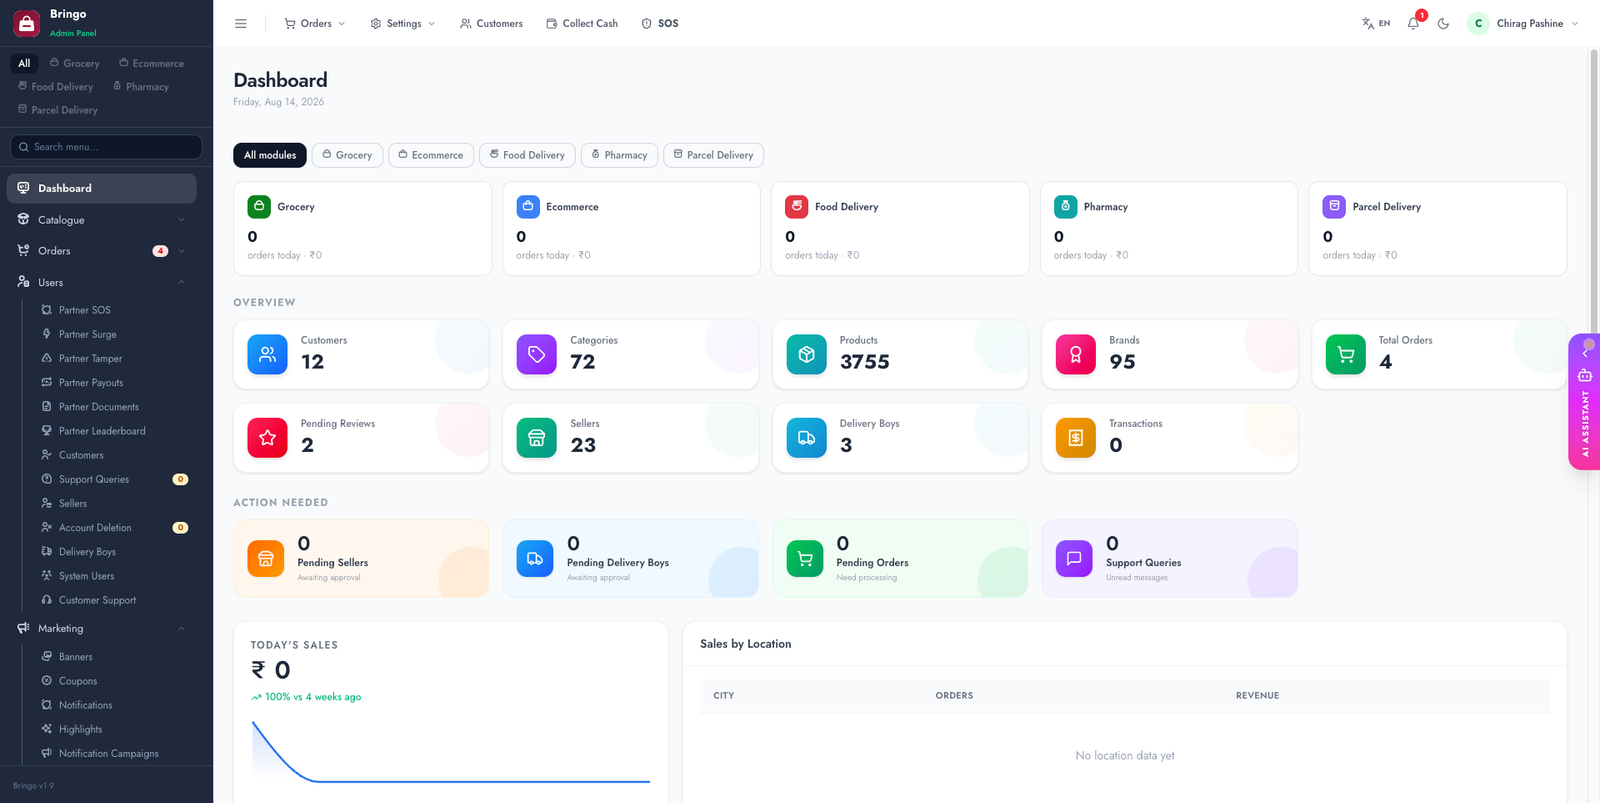
Visit your domain. The storefront should load. If you see a 500 error, check Troubleshooting (usually permissions on storage/ or a missing APP_KEY).
Log in to the admin panel
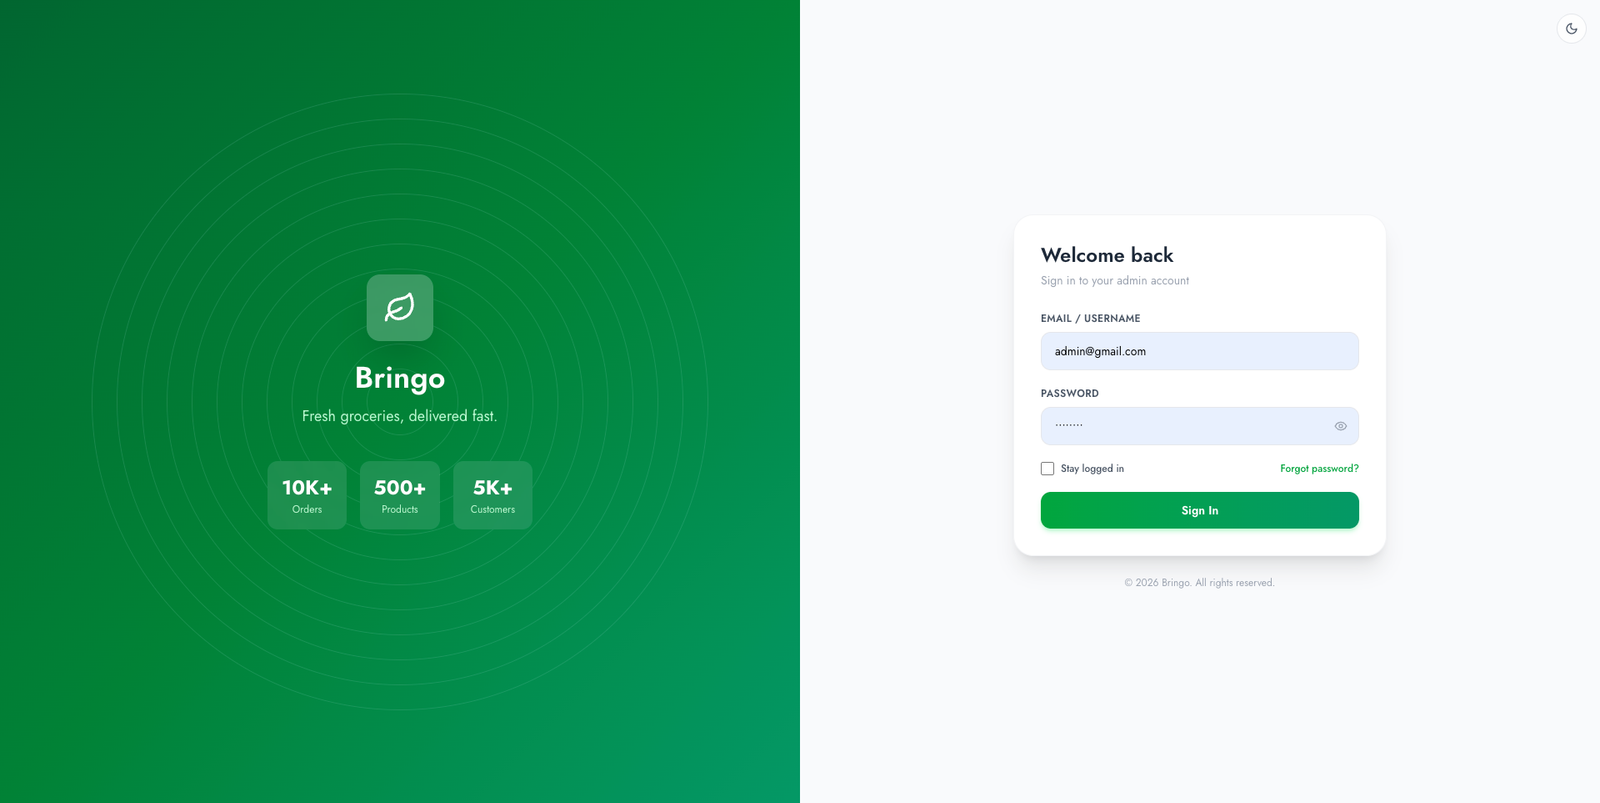
- Go to
https://your-domain.com/admin/login - Sign in with the admin account you created in the install wizard
- Change the password immediately — Admin → Profile → Change Password.
First things to set
Now do an initial pass through these (each has its own page):
- Activate your license with your Envato purchase code.
- Branding — business name, logo, favicon, theme colour.
- Currency & country and enable your modules.
- A payment gateway and SMTP email.
- Cron & queue worker — required for notifications.